

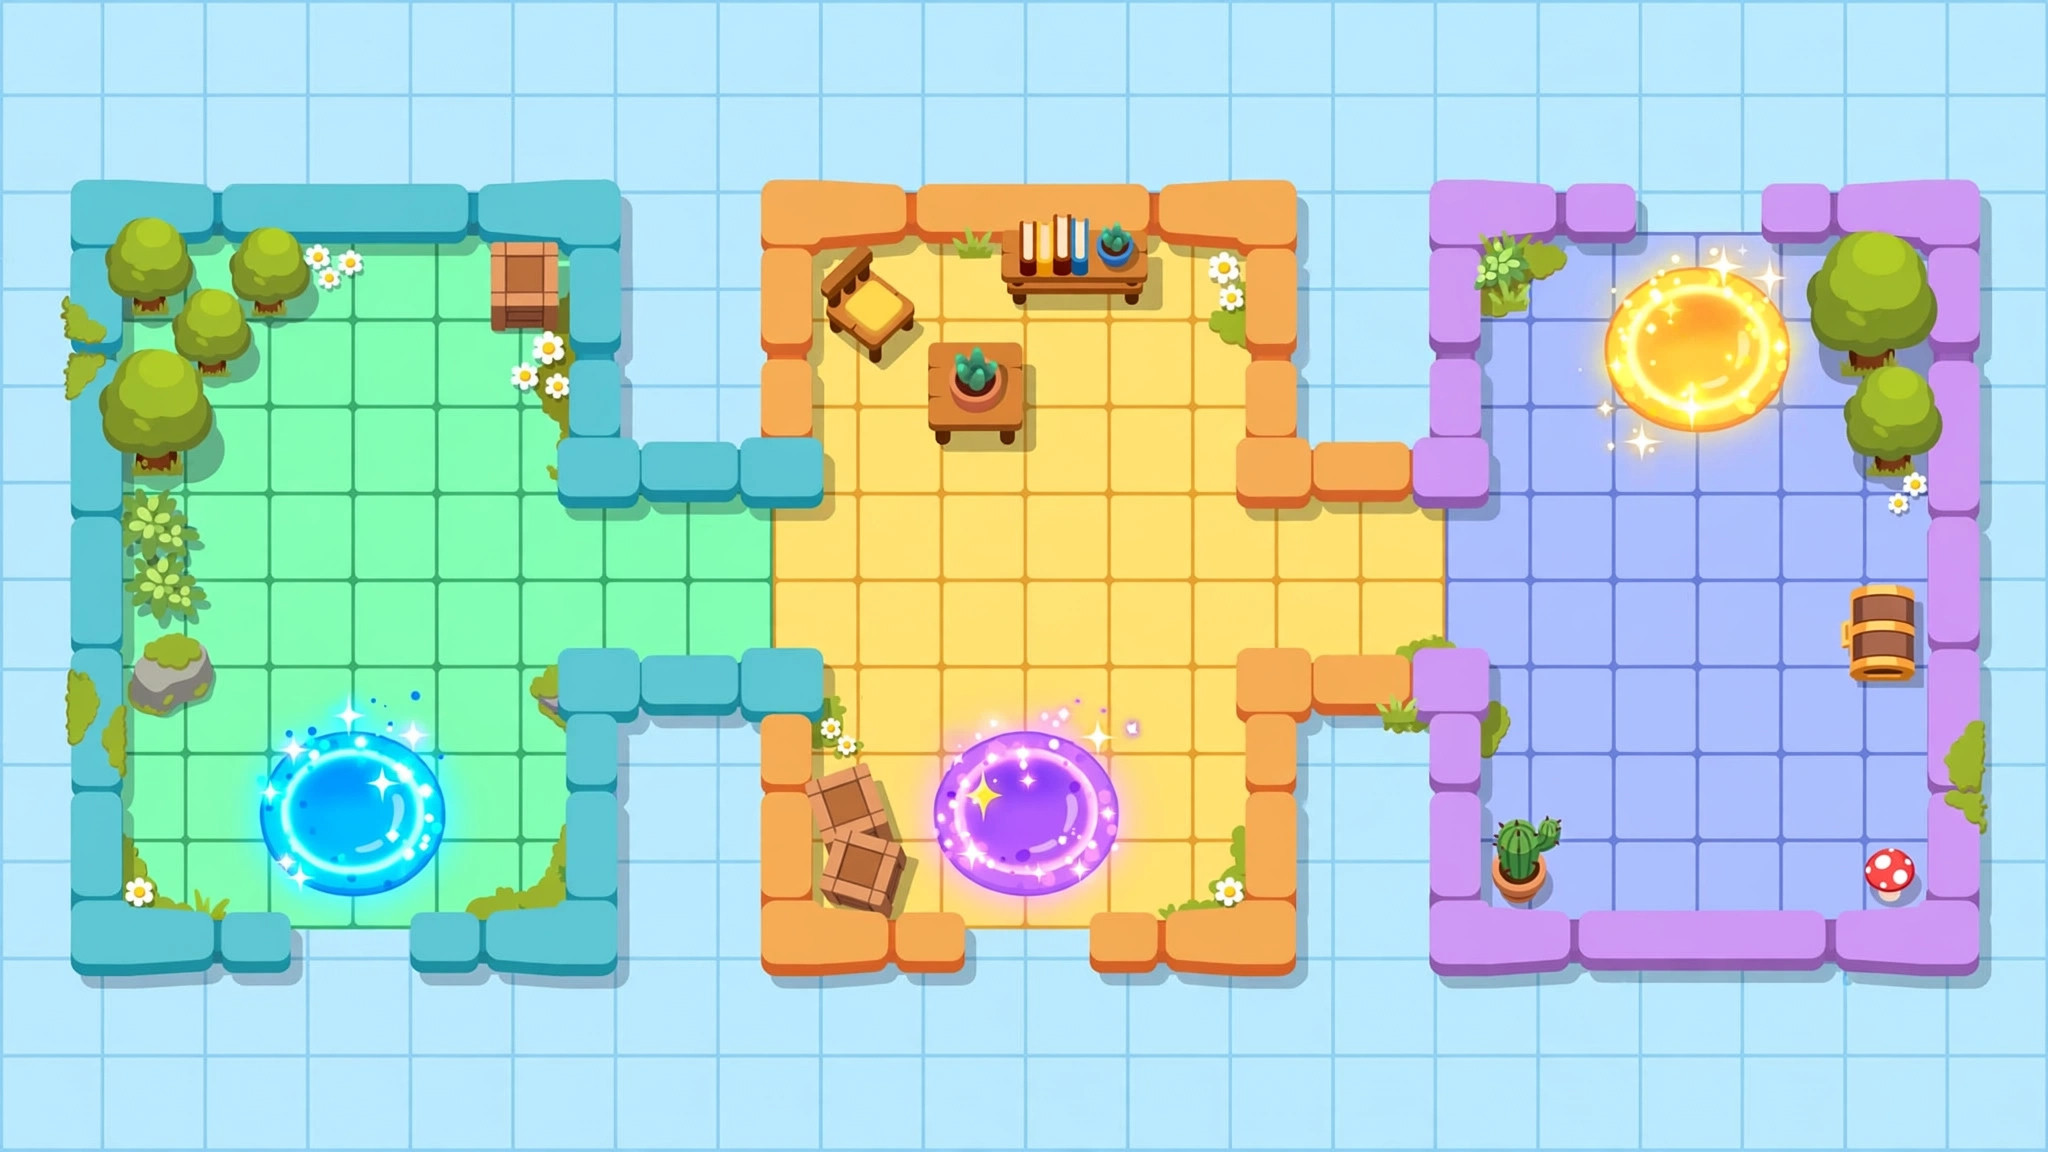
Most people meet Gimkit as players — answering questions, racing through Fishtopia, climbing Don’t Look Down. Gimkit Creative flips that around: it is the built-in editor where you design the map yourself, placing the terrain, props and interactive devices that other players will explore.
If you have never opened the editor, this beginner’s guide walks you through your first complete build: starting a map, choosing a style, laying out terrain, adding your first devices, asking questions inside your map, playtesting, and publishing. By the end you will have a small but genuinely playable map — and the confidence to build bigger ones. This site is an independent guide; the editor itself lives on the official Gimkit platform.
how to use gimkit creative
Let us start with the basics of how to use gimkit creative. From your Gimkit dashboard, open the Creative section and start a new map. You will land in the editor: a big open building space, a toolbar of building options, and your character standing where the map begins.
The editor works with three main ingredient types:
- Terrain — the floors and walls that form the shape of your map.
- Props — decorative objects (trees, furniture, themed items) that make the map look alive.
- Devices — the interactive machinery: spawn points, questioners, teleporters, buttons, zones and more.
Building is mostly point-and-place: pick an ingredient, click where it goes. Clicking a placed device opens its settings, where you customize how it behaves and connect it to other devices. The other golden rule is the playtest button: at any moment you can jump into your map as a player, run around, and check that everything works — then hop back into editing. Save often, playtest more often.
Beginners should also know that Gimkit Creative maps are played with a game code like other Gimkit experiences, and students can even co-build using an edit link if you choose to share one.
gimkit creative for beginners
The biggest mistake gimkit creative for beginners is trying to build the dream map first. A giant, polished world takes hours; a focused first map takes twenty minutes and teaches you every core skill. Think small on purpose.
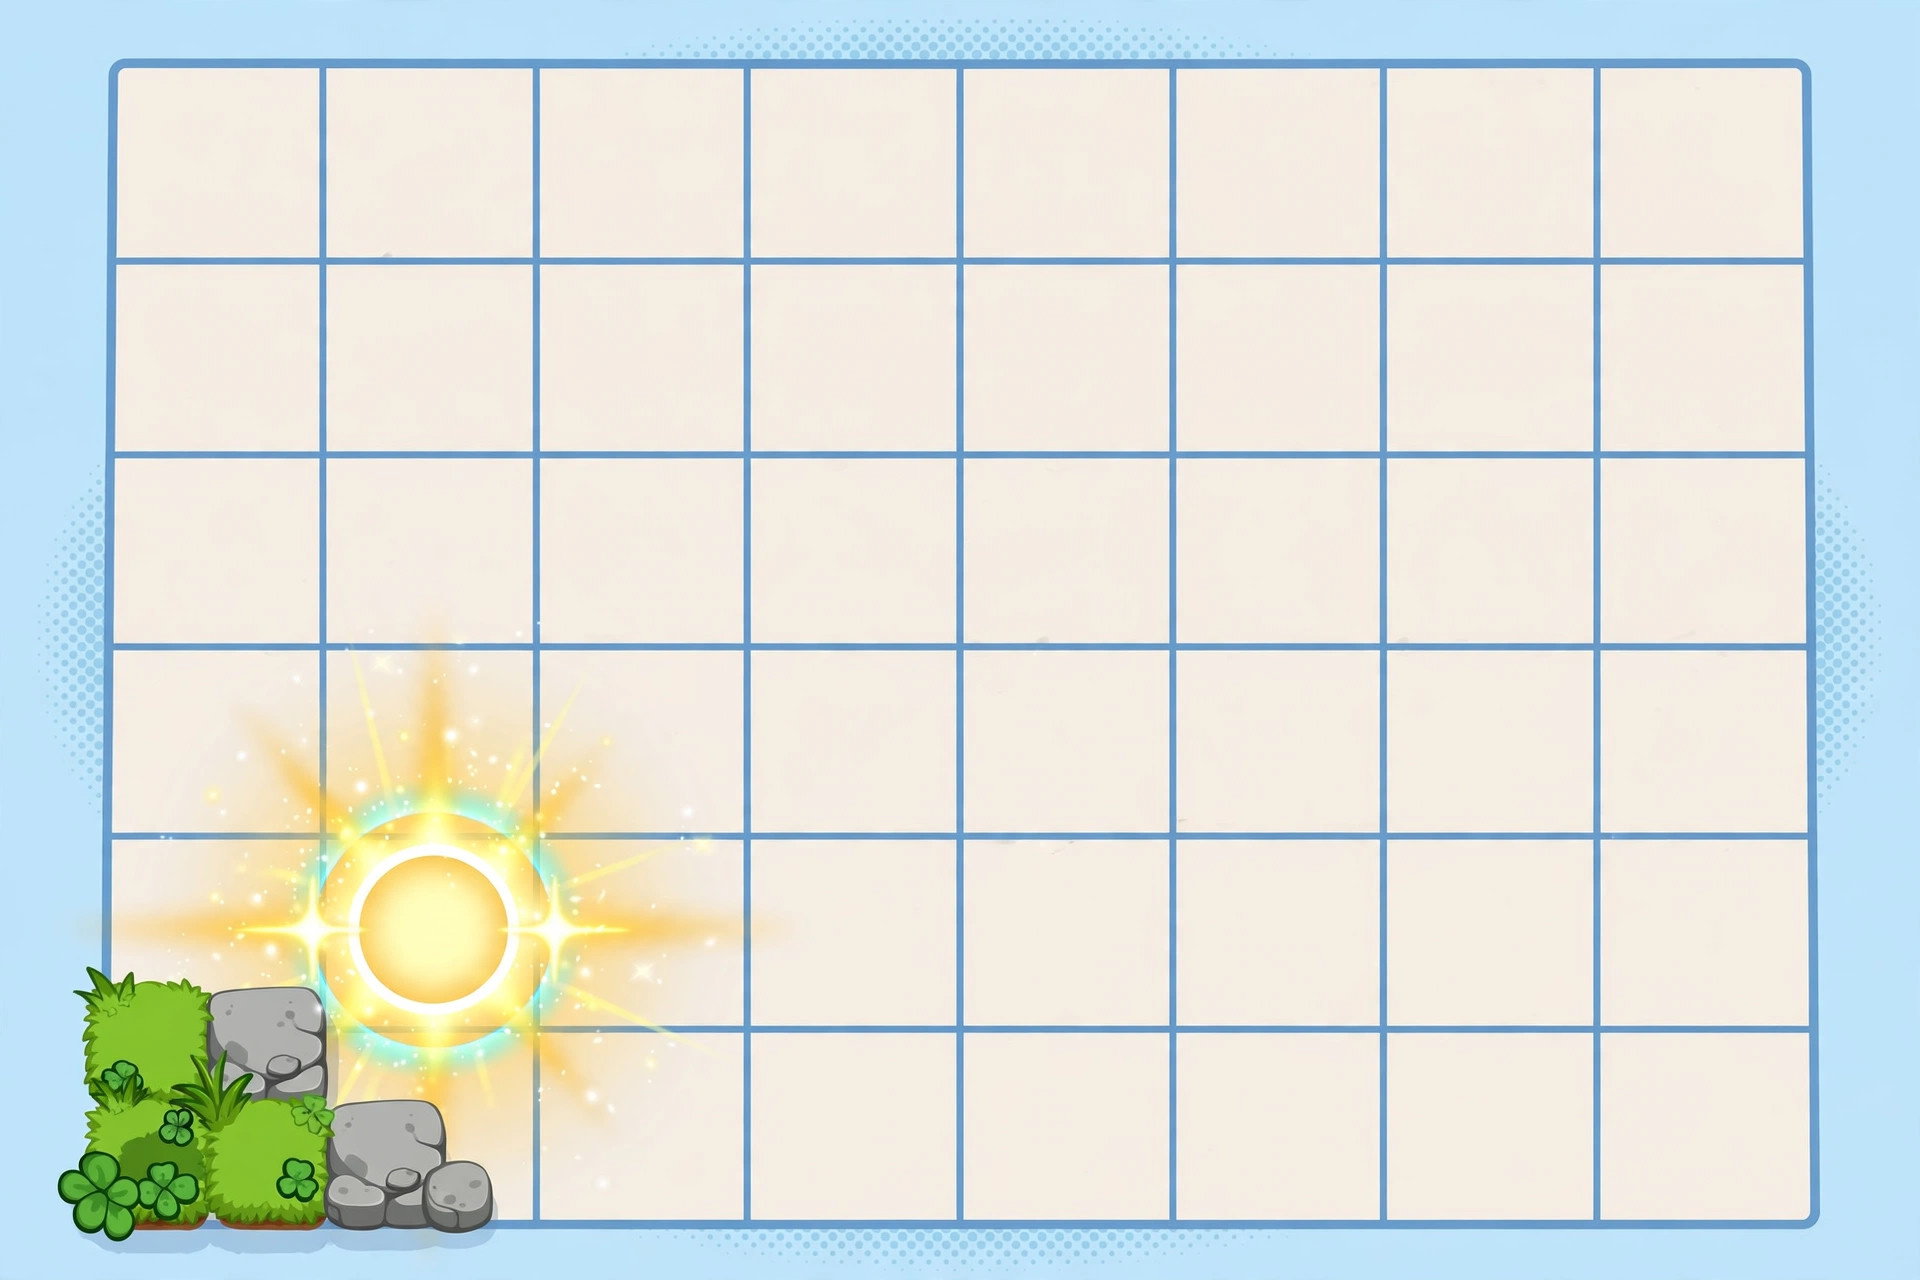
A perfect first project is a three-room map: a start room, a middle challenge room, and a finish room. It forces you to learn terrain, one or two devices, and a questioner — without drowning you in details. This guide is structured around exactly that build.
Keep these beginner principles in mind:
- Sketch the layout in your head (or on paper) first. Three boxes and a path. That is enough.
- Build one room at a time and playtest each before moving on.
- Use Grid Snap when placing terrain and props. It keeps everything aligned and tidy.
- Name things as you go. Devices you will connect later are much easier to find if you label rooms mentally (“the door room”, “the bridge”).
- Do not chase decoration yet. A playable plain map beats a beautiful broken one. Props come last.
If you get stuck on a specific part of the editor, the official Gimkit Help Center documents every tool and device with screenshots.
start a gimkit creative map
Time to actually start a gimkit creative map. Here is the step-by-step flow for your first build:
- Create the map from the Creative section of your dashboard, and give it a clear name you will recognize later.
- Choose your style: Top-Down or Platformer. Top-Down is viewed from above (like Fishtopia) and is the gentler first choice. Platformer is side-view with jumping (like Don’t Look Down). Our separate comparison of the platformer and top-down styles goes deeper if you are torn between them.
- Place a Spawn Point in your start room — this is where players appear.
- Lay the terrain. Floor tiles for the three rooms and a connecting path; wall tiles around the edges so players stay inside.
- Add a Questioner device in the middle room and connect your question Kit. This is the heart of a Gimkit map: players answer questions to gain the energy that moves them through 2D maps.
- Add one fun device — a Teleporter pair is a great first pick: step on one, appear at the other.
- Playtest. Run the route yourself. Fix anything confusing.
- Decorate lightly, then publish when it plays cleanly (we cover the publishing steps, and the checklist to run first, in a separate guide on this site).
That is a complete map. Everything else in Creative — and there is a lot — is an expansion of these eight steps.
Devices: The Fun Part of Your First Map
Terrain makes your map’s body; devices give it a heartbeat. You do not need many at first. The essential starter set:
- Spawn Point — where players begin (and respawn).
- Questioner — serves your Kit’s questions; correct answers power movement and actions.
- Teleporter — moves players between two points instantly.
- Barrier — a wall or door that can open and close.
- Zone — an invisible area that notices when a player enters and can trigger events.
As your map grows, the full toolbox opens up — sentries that act as enemies, counters and checkers for score systems, camera devices for controlling the view. Our complete Gimkit Creative devices guide walks through every device and what it is best at, and it is the natural next read after this one.
Where to Go After Your First Map
Once your three-room map plays well, grow in any direction that excites you. Add a second teleporter route and a secret room. Swap the middle room’s challenge for a sentry guarding the path. Turn the layout into the skeleton of an escape room or a race track.
When you need inspiration, browse our collection of Gimkit Creative ideas — map concepts classes love, from boss fights to parkour courses. And if you want to try other people’s creations first, you can play custom Gimkits for free to see what good maps feel like from the player’s side.
Mistakes Every Beginner Makes (And the Fixes)
Building before sketching. Ten minutes of dragging terrain with no plan produces a map-shaped tangle. The fix is not talent; it is the three-box sketch. Rooms first, connections second, details last.
Placing devices before terrain. Devices dropped into empty space get moved five times as rooms take shape around them. Terrain skeletons first; devices click into finished spaces once.
Skipping the questioner check. The single most common broken first map: a beautiful build whose Questioner was never connected to a Kit, discovered live in front of thirty students. Connect it, then immediately playtest-answer three questions yourself.
Decorating a broken route. If players cannot get from spawn to finish, no amount of trees fixes it. Prove the route ugly and working before you make it pretty.
Never playtesting as a stranger. You know where everything is, so you cannot see your map’s confusion. Hand it to one person who has never seen it and watch in silence. Their first wrong turn is your best design note.
Saving “at the end.” Editors crash and tabs close. Save after every working piece. A map saved ten times is a map that survives.
Taking Your Map Into a Real Class
A first map’s debut deserves thirty seconds of planning. Host it in a low-stakes moment — a Friday warm-up, not the graded review — so the inevitable small bug becomes a laugh instead of a crisis. Tell students it is a first build and you want their honest notes; classes take genuine pride in improving a teacher’s map, and their feedback is sharper than any playtest you can run alone.
After the session, fix exactly the top three complaints, no more. Small, responsive updates teach students that their feedback matters, and they keep your build sessions short. Then build map two — which, armed with everything map one taught you, will take half the time and play twice as well.
Your Second Map: Where Beginners Grow
Map one teaches the tools; map two teaches judgment. Build it within a fortnight of the first, while the lessons are warm, and deliberately choose the opposite kind of project: if map one was a top-down room chain, make map two a small platformer or a hub-world adventure. The second build is where the transferable skill reveals itself — you will catch yourself designing in events and fuel stops instead of in tiles, and that shift in thinking is the entire game. Keep it small again. A finished small map teaches; an abandoned epic mostly teaches dread. By map three, choose freely: your hands know the editor, and your judgment is starting to know your players.
Frequently Asked Questions
Is Gimkit Creative free to use?
Creative is part of the Gimkit platform; free accounts have limits (such as how many maps you can keep), while Pro expands them. Check your account’s plan page for your current limits.
Do I need my own questions to build a map?
Your map needs a Kit for its Questioner devices. You can build a new Kit or reuse an existing one — many teachers start with a Kit they already use in live games.
Can students build maps too?
Yes. Students with accounts can create their own maps, and teachers often set map-building as a project — students designing review maps for each other is a popular assignment.
How long does a first map take?
A simple three-room map takes most beginners 20–40 minutes, including playtesting. Speed comes quickly after the first build.
Final Thoughts
Gimkit Creative rewards starting small: three rooms, a questioner, one fun device, and a playtest. Master that loop — build, test, fix, decorate — and every advanced map on this site, from escape rooms to boss fights, becomes just a bigger version of your first afternoon’s work.
